 When I first made my Rey costume, I hadn’t built anything new in a couple of years, and I found the standard one-piece method for her belt a bit intimidating in terms of both cost and leatherworking technique. Since I had pretty tight time constraints between when I decided to do it and C2E2, where I wore the first draft version, I came up with an approach using two ready-made belts, figuring I could do it properly later on if I wore the costume again. Little did I know I’d be wearing it a LOT, and that the belt would turn out so close to accurate that it would pass Rebel Legion approval and still be going strong a year and a half later!

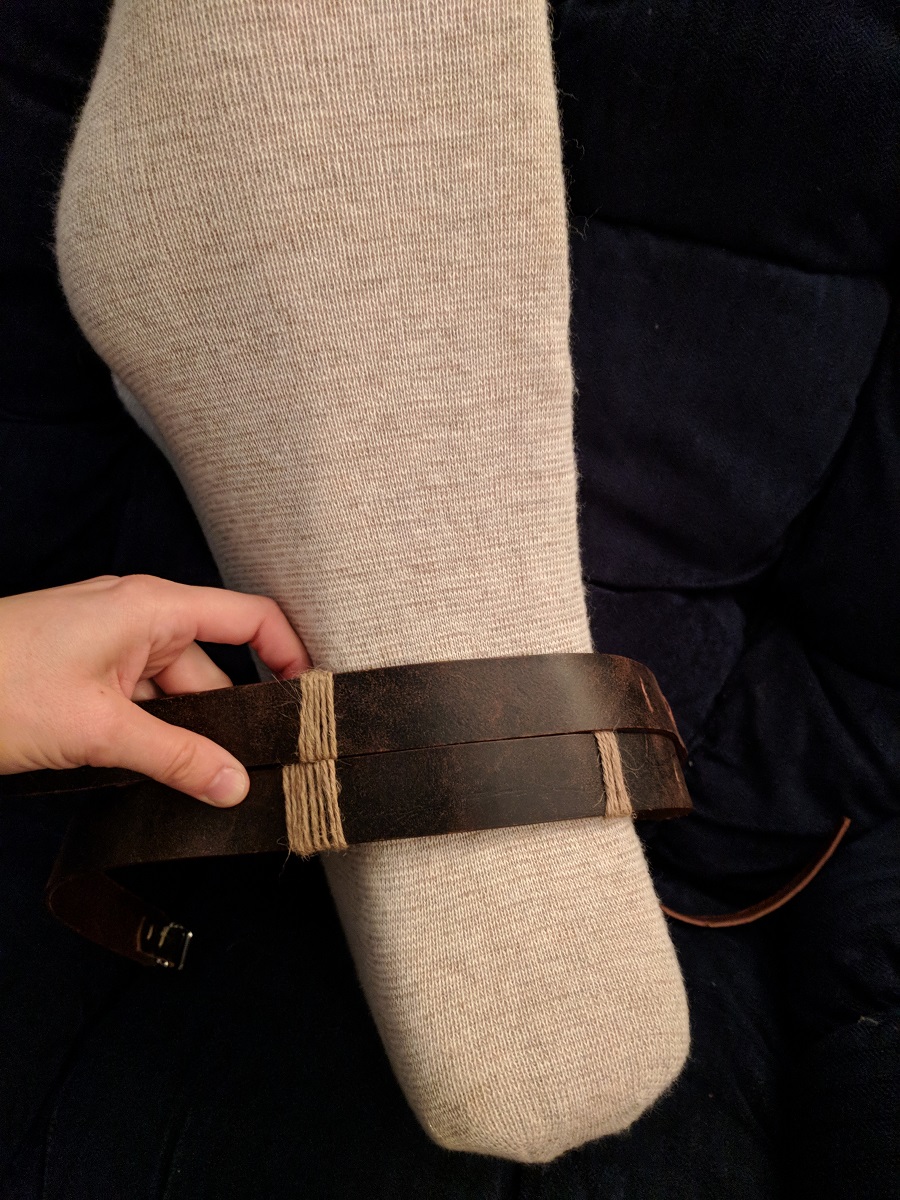
This photo is also one of the reasons I used a leather thong instead of hemp twine for a long time.
Standard disclaimer here: I can’t guarantee that this belt will get Rebel Legion approval. Mine is approved for my Jakku Rey, but RL costume judges are human beings (even if it might not feel that way in the throes of the approval process) who volunteer their time, and standards are constantly evolving. I plan to use it when I submit my Resistance costume, but I have no idea whether it will be approved. I’ll keep you posted. 🙂 (We have a promo photo of Rey in her Jakku outfit where there is a clear line between the top and bottom strip of the belt, but we don’t have anything that concrete for the Resistance outfit.)
If you use thrifted belts (which is an investment of time in lieu of money; good leather belts can take a few visits to find, but it’s worth the hunt for the savings as well as the ready-weathered look if they’re well-used), your total cost using this method will be about $10. If you’re pressed for time and need to buy them new (Target is probably your best bet), you’re looking at about $40. (My frame of reference is all U.S.; if you live elsewhere and have sourcing insights to share, please comment!)
If you’re super pressed for time and not concerned about looking 100% accurate, you can skip to Step 7 below, and just use the original buckles on your belts. You can always go back and replace them later. If it doesn’t need to be durable, you can even just connect the two belts together with duct tape and then add the twine. It will hold together for one wearing with no prolbem.
A note on the example below: I took photos in the process of making a child’s belt, so I used the smaller width for both the top and bottom (I happened to find two identical belts in different sizes), and the proportions will look a little different if you’re working on an adult size belt. These belts were a great find because the two rows of holes mean you can make the narrow “tails” in the middle instead of at the side of the belt (you’ll see what I mean below.)


Materials:
- One (1) brown leather belt about 1 inch wide (should fit your waist on the smallest hole, preferably with a couple inches to spare; this is a standard width for women’s belts)
- One (1) brown leather belt about 1 1/2 inches wide (as long as you can find but should be at least 6 inches longer than the smaller belt; this is a standard width for men’s belts)
- Four (4) 3/4-inch rectangle rings
- Beige heavy-duty thread
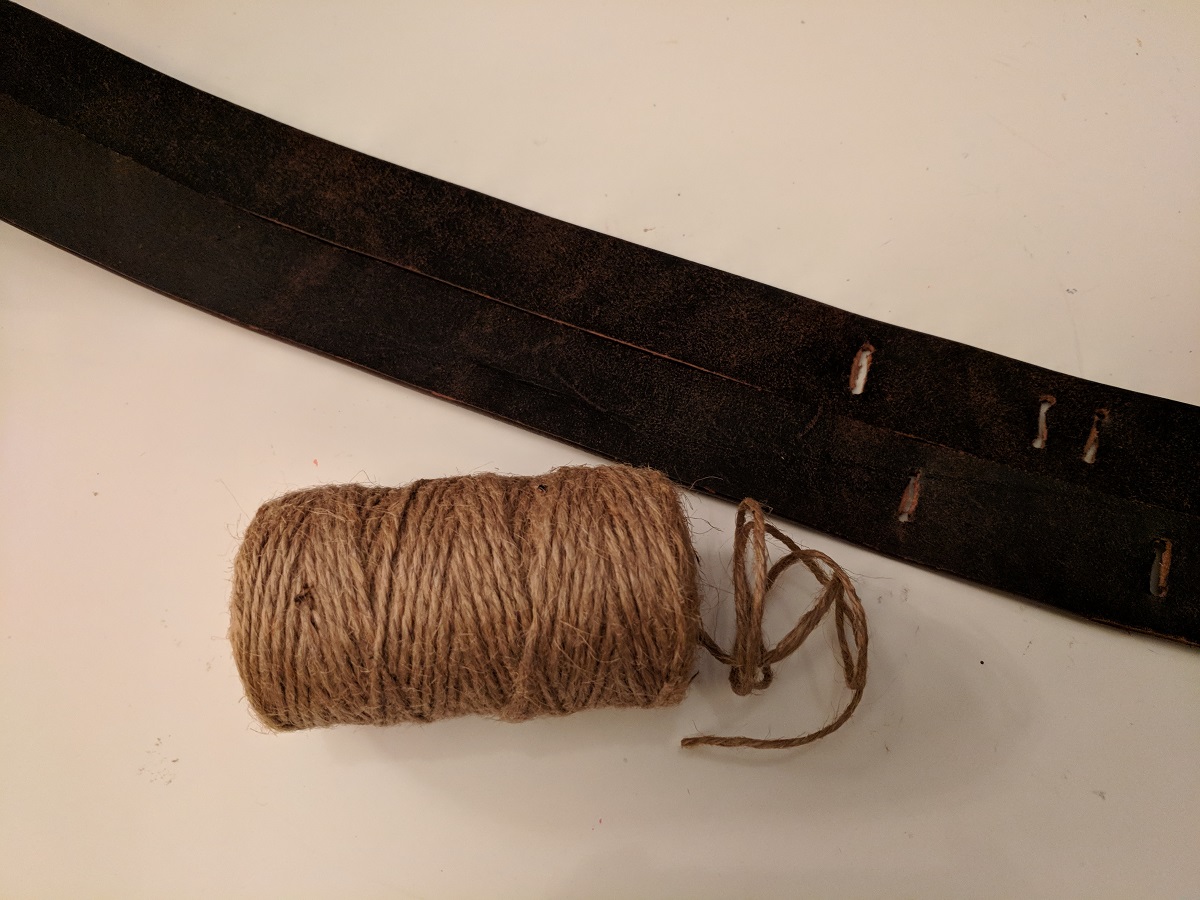
- Medium weight hemp twine
- Scrap leather – one piece about 2 1/4 x 4 inches, or two pieces that add up to that (can be cut from another belt)
- Brown duct tape
Tools:
- Seam ripper
- Strong scissors or utility shears (or rotary leather cutter if you prefer)
- Hand sewing punch* OR thumbtack and point of a compass/nail/similar sharp pointy object
- Medium sewing needle
- Pencil or chalk
- Leather punch*
- Xacto knife* or utility knife
- Spoon, fork, or knife (for handle)
- Shoe Goo (or comparable glue suitable for leather)
- Scissors
*Optional tools – might be expensive for one project, but make your life easier
Step by Step
Step 1: Remove buckles

Using a seam ripper (available in the notions section of any fabric store or the craft department of Walmart), remove the stitching holding the buckle on the belt. If there is a loop, you can slide it off the end when the stitching has been removed.
Step 2: Trim buckle end

My preferred tool for cutting leather is these utility shears I bought at American Science and Surplus for $2.25. I haven’t tested the claim that they can cut a penny, but they’re great for leather.
Trim off the end of the belt at the point where the hole(s) for the buckle claw(s) are. Trim along both sides of about the end 3″ of the belt so that section is about 3/4″ wide.
Step 3: Punch holes for stitching
Punch 2 sets of 4 holes, each set in a square, for the X stitching. Once you have punched the first set of holes, you can use the point of a compass or similar sharp point to mark where the other set should be (matching the position with the end of the belt folded over) and then punch the matching set.
If you don’t have a hand sewing punch (mine is from Tandy Leather), you can start each hole with a thumbtack and then use the compass point to make it a little bigger.


Step 4: Attach rectangle rings

I use 3/4″ rectangle rings from Hobby Lobby. (Note: These are VERY SHINY, and you may want to distress them a bit before attaching them to the belt. I did this with black spray paint on my own belt; you can also scuff them up with sandpaper. But I skipped the distressing in this case, so I don’t have any photos of that step.)
Loop two rings into each belt and stitch into place making an X shape with the thread on the outside. (Like sewing a button.) Starting the knot without blocking the holes is a little tricky; I do it by knotting it at the side next to one of the back holes. Stitch 3 or 4 times over the X for strength, and tie off the thread behind.


Step 5: Trim the tails
By “tails” I mean the narrow part at the end that will be buckled through the rings and tucked into slits in the back part of the belt.
If one or both of your belts has a double row of holes, trim along them to leave the narrow strip of leather in between. If there is only a single row (this is how my original belt is), first trim along the holes, then, if necessary, trim off a bit of the other edge. Finally, cut a gradual diagonal/curve from the wide part of the belt.
Only trim this much of the width at first, then try on the belt. If you pull it through the rings and find you need it to be tighter, you can always trim more narrow section so it will pull through the rings, but you can’t trim less! 🙂


Step 6: Cut slits to tuck the tails into
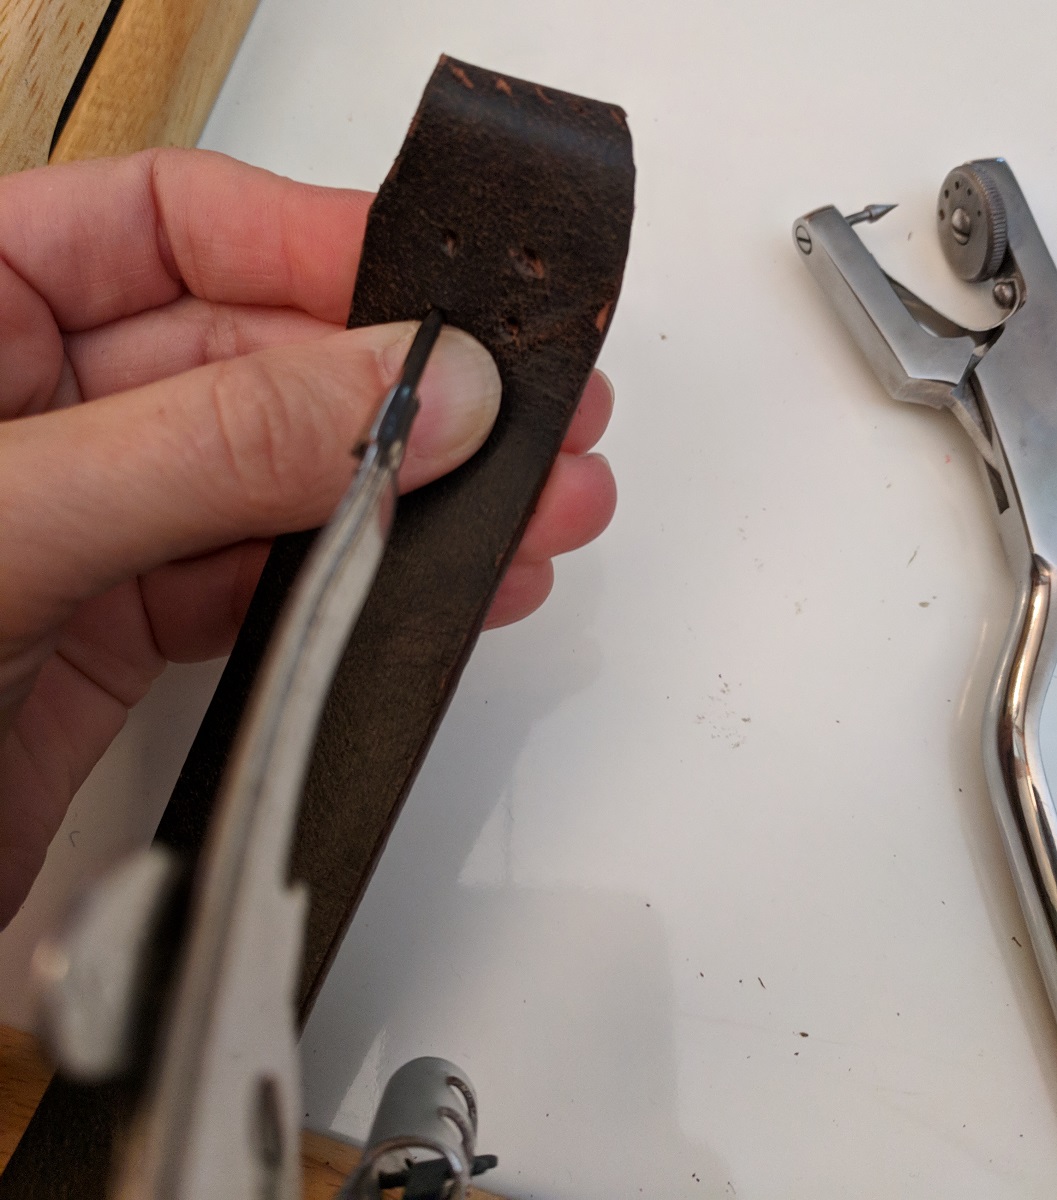
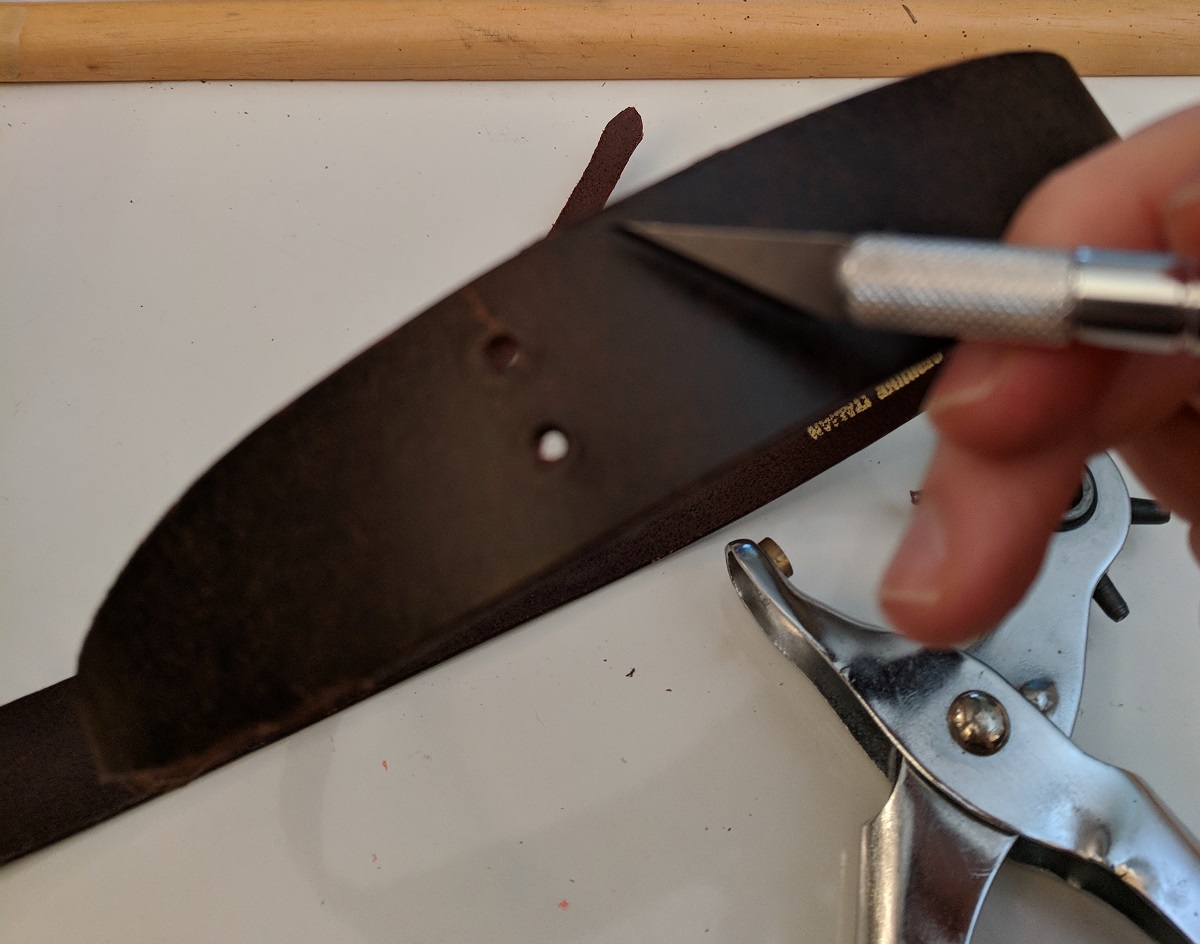
First buckle the belt inside-out at the right size so any stray markings left over will be on the inside of the belt. Mark short lines for the slits across the width of the belt. The top belt should have two pairs of slits about 1/2″ apart and a fifth single slit to touch the end in. The bottom belt should have one pair of slits and a third single slit. The slits should be spaced to fit your measurements; mark with your chalk or pencil until it looks like it will work. (You may want to get an extra belt at the thrift store to experiment with; this could also serve as the source for your scrap piece(s) that will be used to connect the top and bottom belts.) The slits should be long enough to tuck the tails into, but still have enough leather left before the edge of the belt so it won’t break.
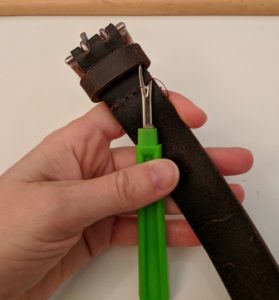
The easy way to cut the slits wide enough to tuck the tail through is to use a leather punch at each end of the slit and cut between them with an Xacto knife. If you don’t have a leather punch and don’t want to invest in one (I use one like this from Ace Hardware, you’ll need to work at it a bit more with the Xacto knife (again being careful not to cut too close to the edge of the belt).


Push the handle of a piece of silverware (or something else that is rigid and of similar width and thickness to the tails of the belt) through each slit a few times to push out any stray bits of leather and stretch it a little.


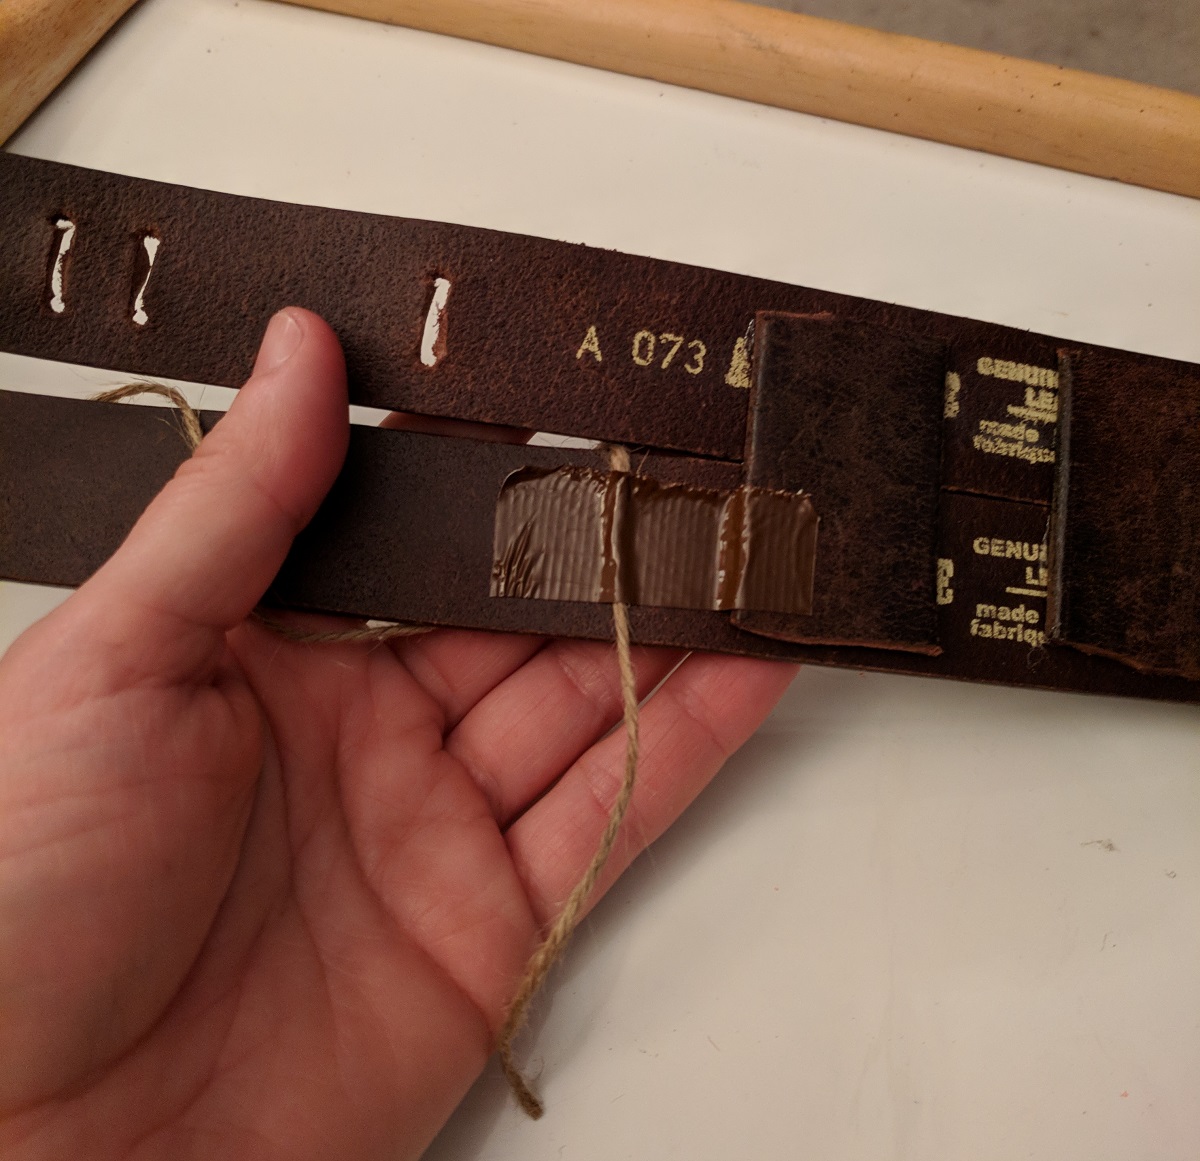
Step 7: Connect the two belts together
Cover a flat surface with newspaper to protect it from any stray glue. Lay the two belts flat right next to each other with the center points lined up, with the back side up. (In the example, I didn’t need to mark those points because I was using two of the same kind of belt with printing on the back at the center points.) The center point will be the left side of the belt when it is worn, and the point where it should look as much as possible like one piece. Place your scrap leather without gluing it first to make sure it won’t show on the outside of the belt. Glue the scrap piece in place with Shoe Goo (available in the shoe care section of many big box stores, with the adhesives in most hardware stores, or online). Place another piece of protective paper on top and place a stack of books or similar flat weight on top. Let dry overnight.

At the bottom here is the scrap piece from a belt I used for another project

Marking the scrap piece for cutting

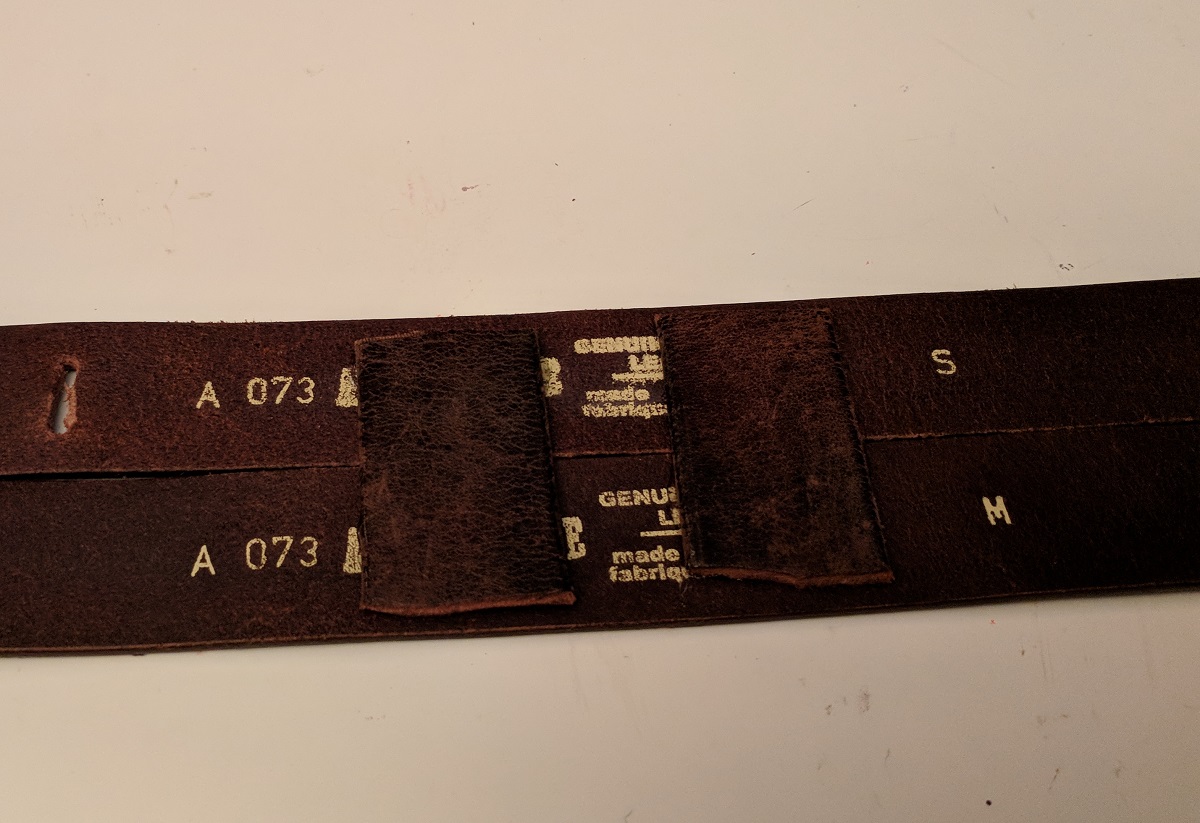
Back side after gluing

Outside after gluing
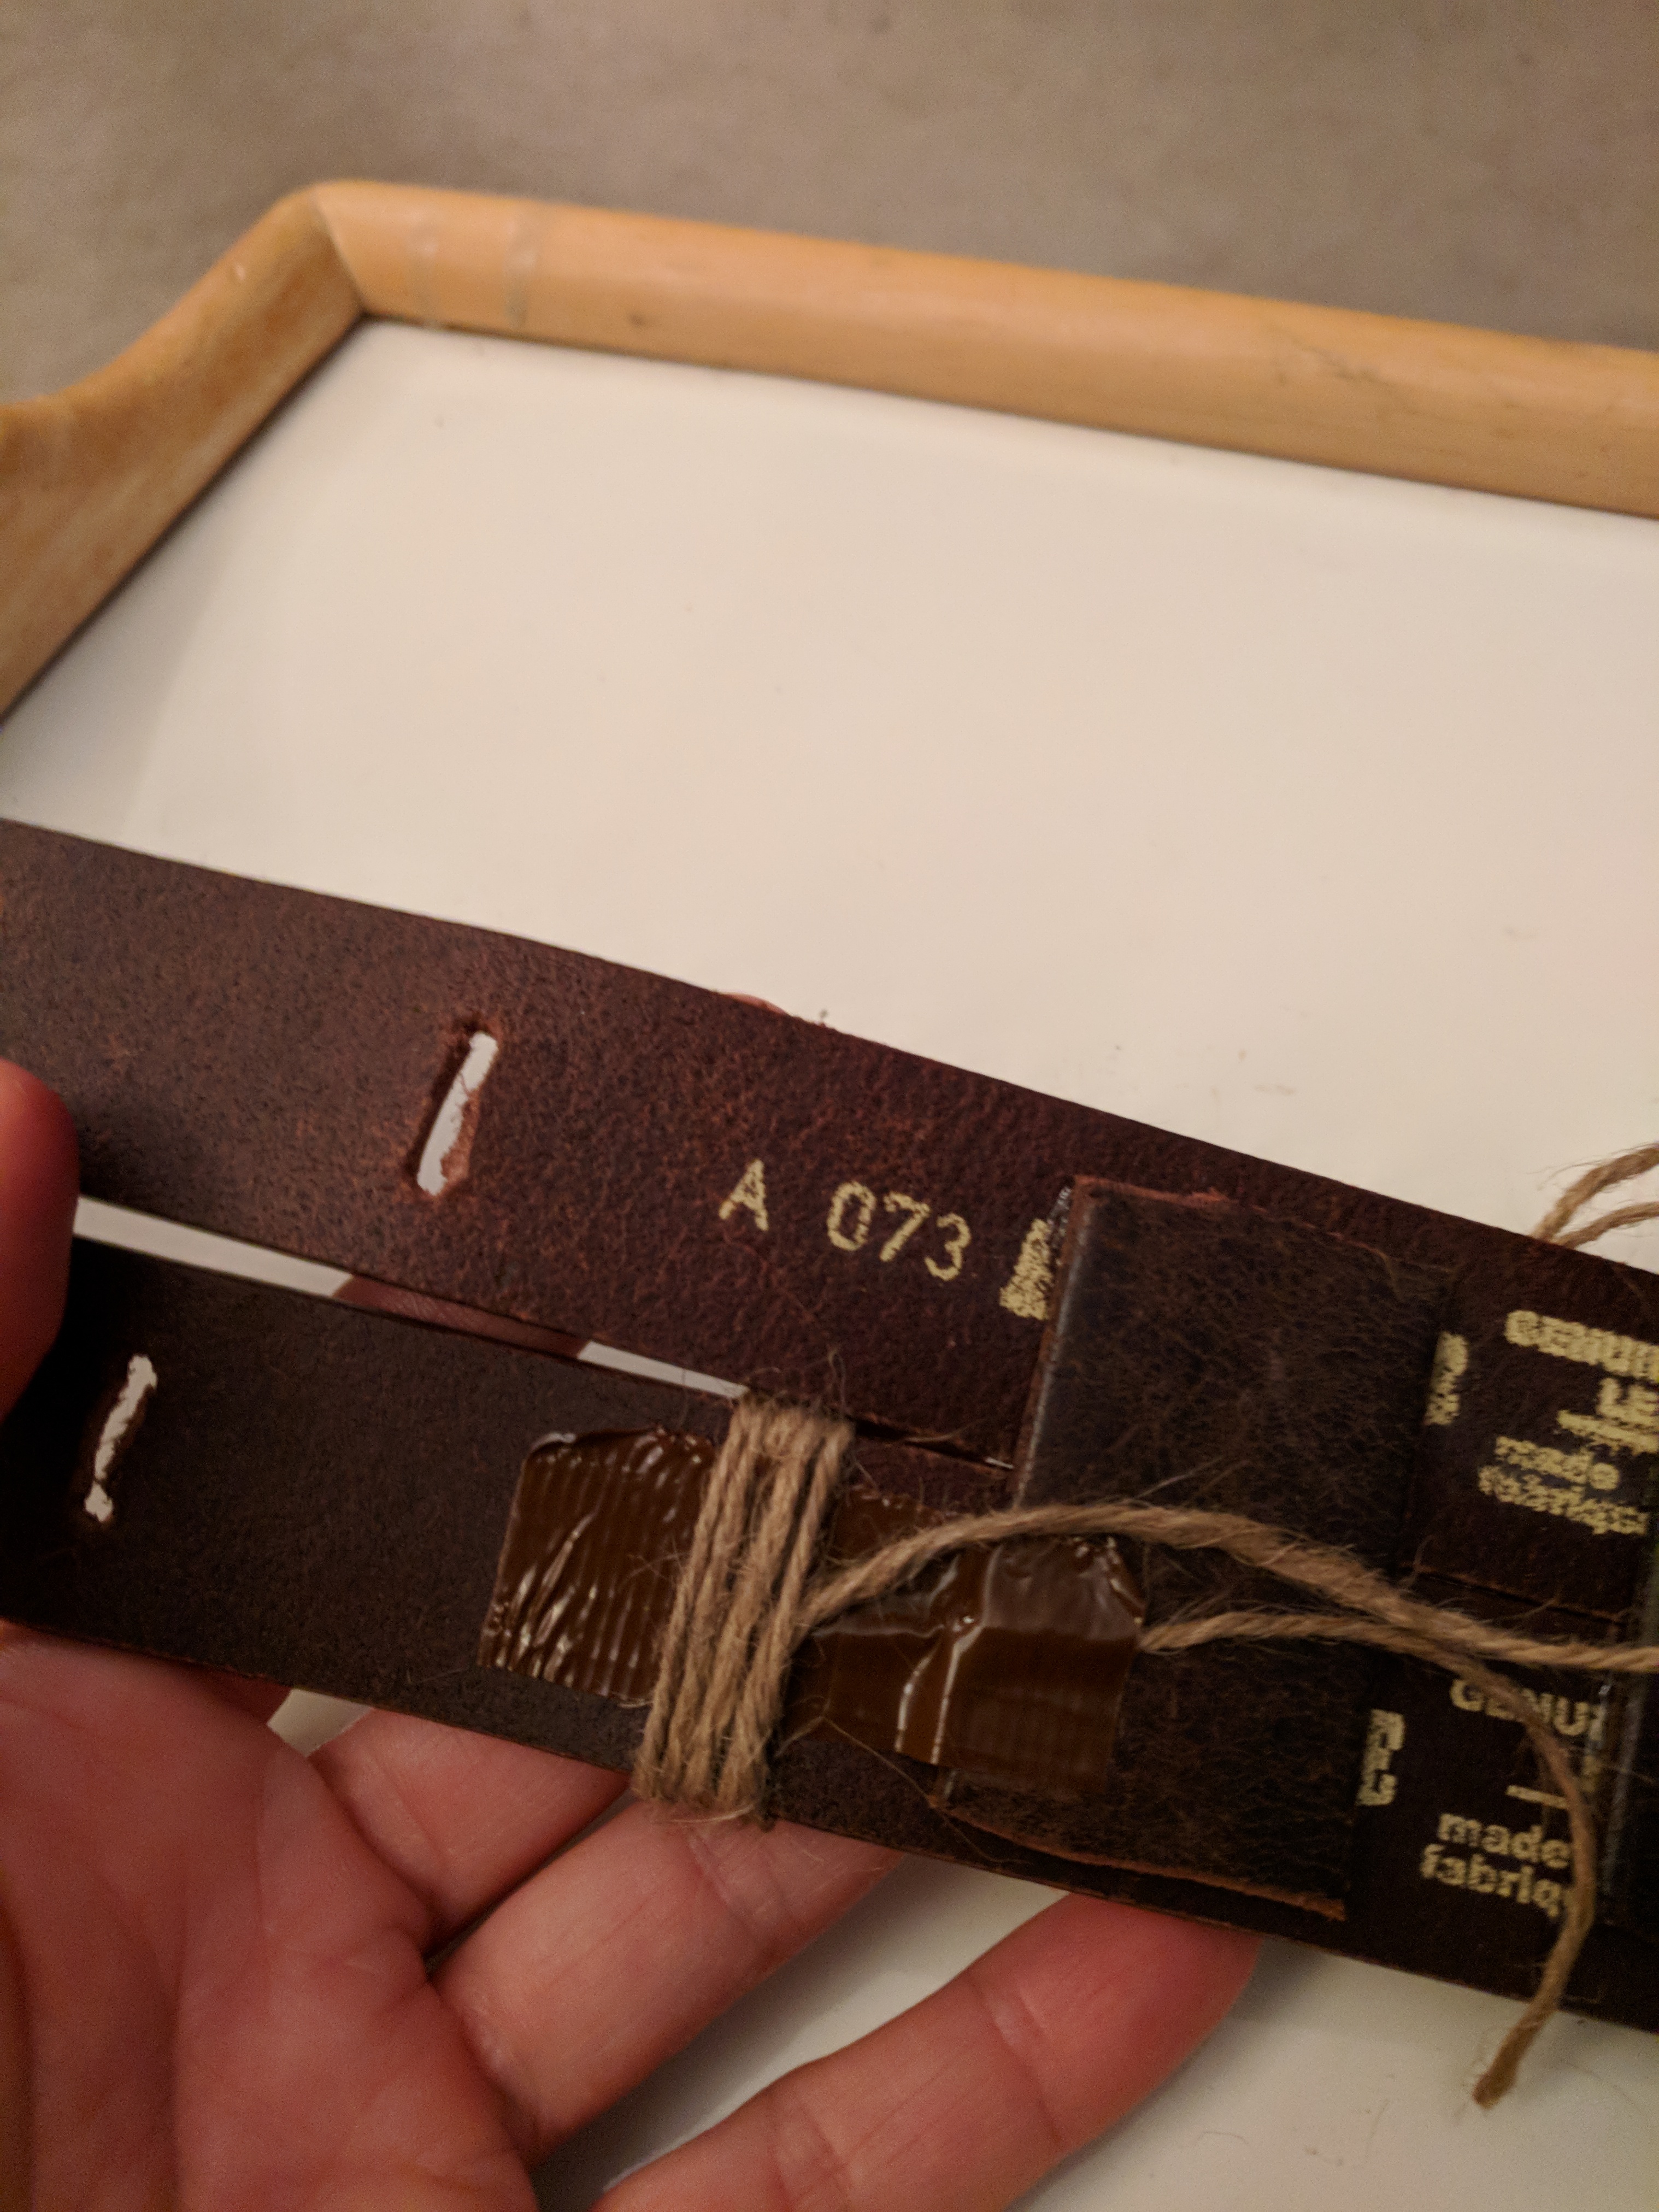
Step 8: Add the twine wrapping
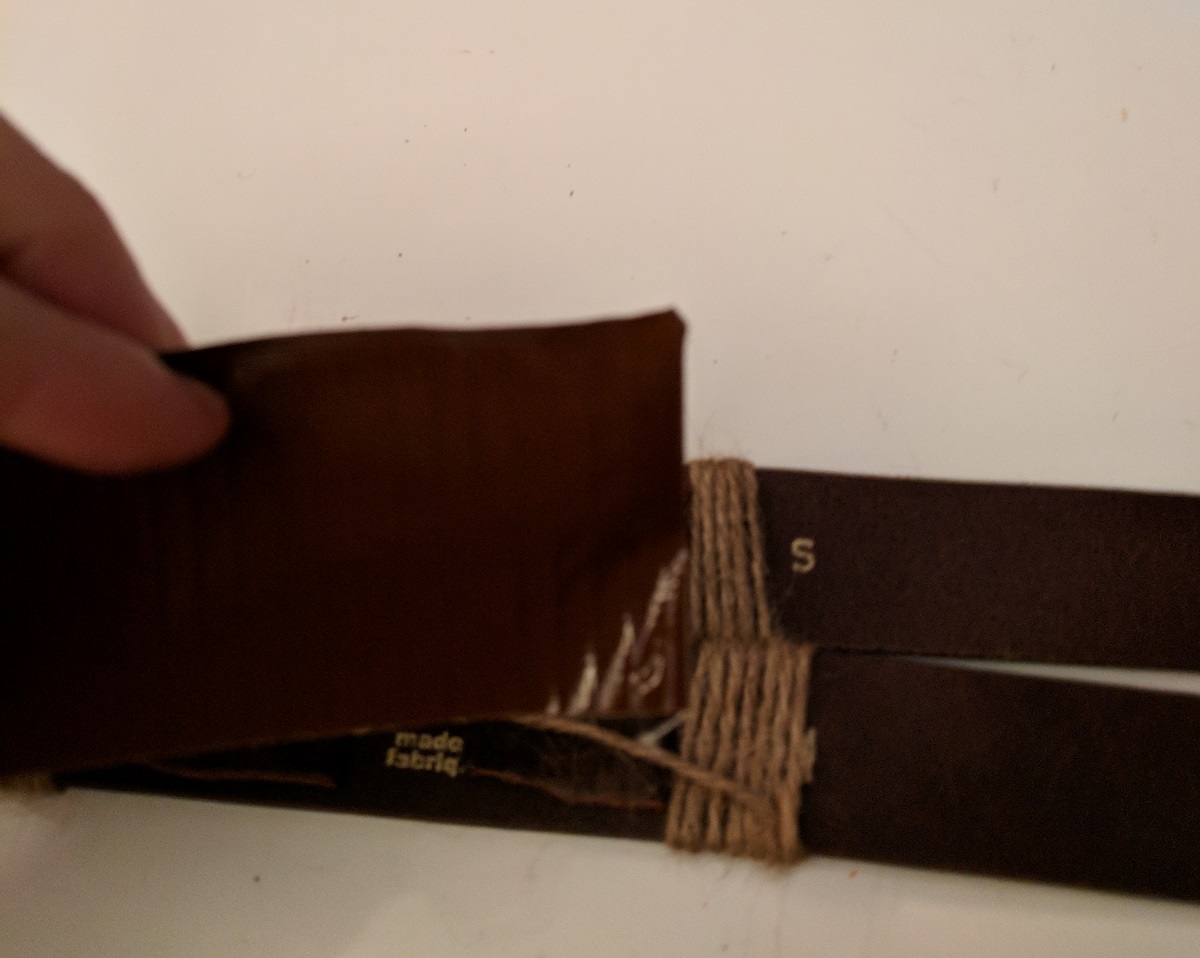
Cut a piece of twine (available at the hardware store) about 2 yards long. Tape the beginning end to the inside of the belt. You can see several different configurations of the twine wrapping in different stills and promo photos of the Jakku costume. (My take on that is that in-story it’s there for functional purposes, i.e. so Rey has twine handy when she needs twine, and that when we see it differently it’s because she’s wrapped it back on differently as she goes about her day.) The “standard” configuration is to wrap it 4 or 5 times around just the bottom strip behind the join, and in front of it wrap it all the way around several times and then just the bottom strip a couple more times.
Pretty much any way you want to wrap and tie the twine will work. My photos below show how it works for me. When you’re all done, cut a piece of duct tape about the same size as the scrap piece of leather joining your belts, just to help keep the twine in place without being visible when you’re wearing the belt.


Step 8: Put on your belt, go forth, and scavenge!
Since I was making a child-size belt and don’t have a child handy to model it, I made do with this half-torso store display, which is a little too big for the belt. But it’ll give you an idea of how the thing goes on.


If this tutorial was useful to you and you incorporated it into your Rey costume, please share! Tips and tricks to alter the process that might be useful to other costumers are always welcome too. I’d love to hear from you!
